

Happy Embroidery Machine Setup
Most setup problems come from the room, not the machine. Get these right and a new Happy sews well from day one.
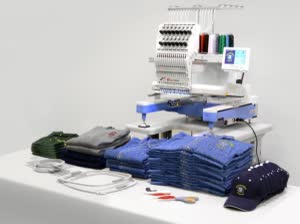
- Place it: a solid stand or table on a level floor, with room for the hoop arm to travel in every direction.
- Power: a dedicated outlet - 110 V for Journey and Voyager, 110 V or 220 V for HCD3e, 220 V single phase for HCR3 multi-heads.
- Level: adjust the feet until the machine does not rock.
- Connect: load designs by USB or network with HappyLink / HappyLAN.
- Test: sew the built-in test design on scrap with cut-away backing before your first order.
Unboxing and mounting videos: HCD3 support · multi-head support · downloads and manuals.
Need a Happy machine, parts or service?
Quote now for freight, installation, training and current discounts. Ask about our packages. Let us help you get into your next machine, with great financing available.
Quote now Ask about our discounts Great financing available 480-229-7806
More Happy guides
- How to thread a Happy embroidery machine
- Happy embroidery machine setup
- Happy cap frame setup
- Happy embroidery machine maintenance
- Happy embroidery machine thread breaks
- Hoops that fit Happy machines
- Which Happy machine should I buy?
All Happy Japan machines: Happy Japan at Buckets of Ink.
FAQ
Do you install Happy machines?
Yes. We deliver around the Phoenix metro and quote installation and training with every machine.
Do I need a computer?
No. Designs load by USB, but HappyLink / HappyLAN lets you send them over the network.
What should I sew first?
The built-in test design on scrap fabric with cut-away backing.
