
Happy Cap Frame Setup
Every Happy machine we sell sews finished caps with a wide-field cap frame: about 14 in across on single-heads and 14.2 in on HCR3 multi-heads, so the front and both sides can sew in one hooping.
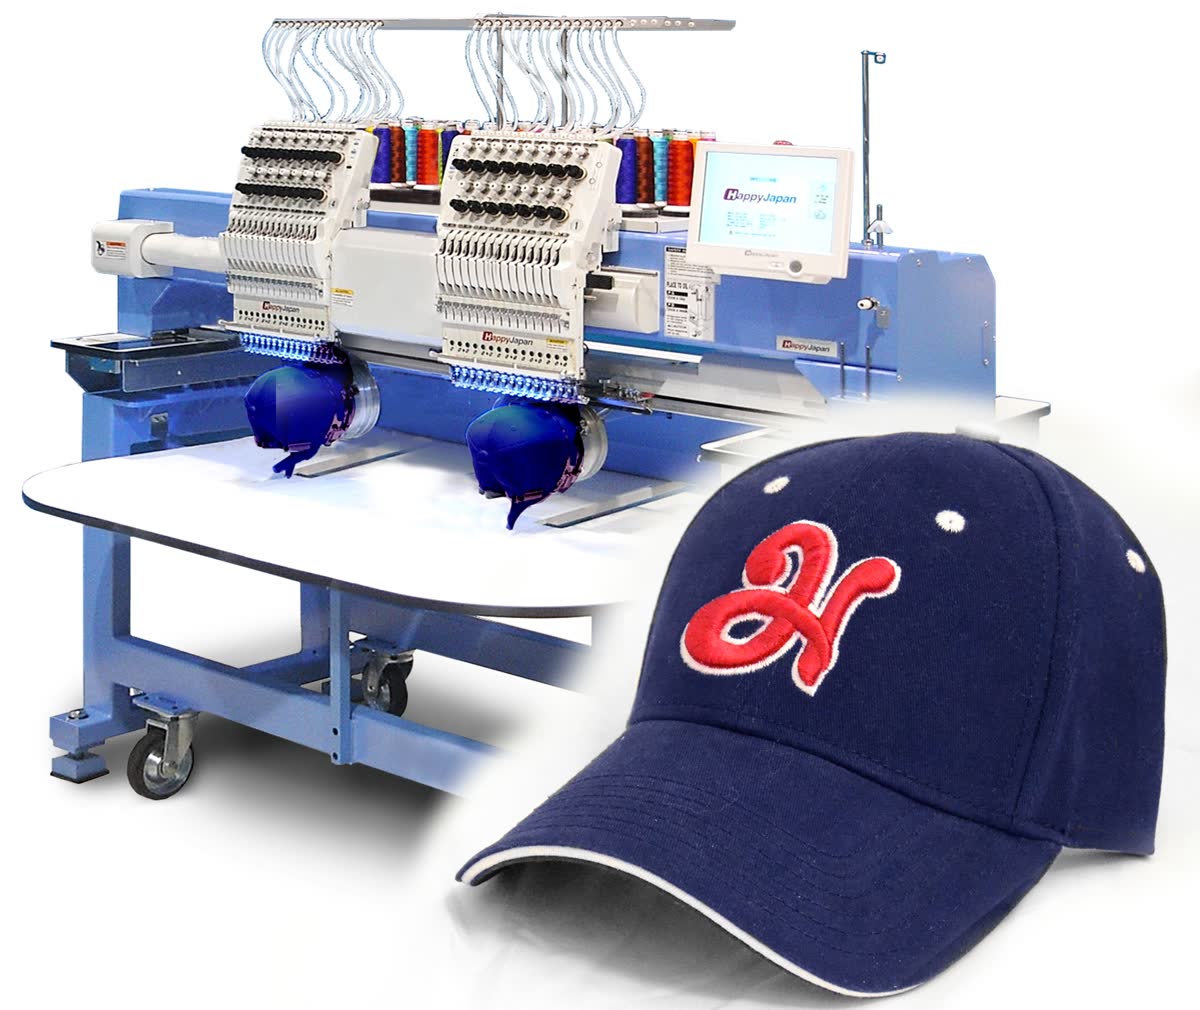
- Remove the flat hoop arms and fit the cap driver until it seats fully.
- Hoop the cap on the cap hooping station: sweatband folded back, cap pulled tight, strap locked.
- Slide the cap frame onto the driver until it clicks.
- Select cap mode so the design rotates and the speed drops.
- Use firm cap backing and sew from the center out.
Video walk-throughs: HCD3 cap setup · HCR3 cap setup. Extra frames: HoopMaster cap fixture.
Need a Happy machine, parts or service?
Quote now for freight, installation, training and current discounts. Ask about our packages. Let us help you get into your next machine, with great financing available.
Quote now Ask about our discounts Great financing available 480-229-7806
More Happy guides
- How to thread a Happy embroidery machine
- Happy embroidery machine setup
- Happy cap frame setup
- Happy embroidery machine maintenance
- Happy embroidery machine thread breaks
- Hoops that fit Happy machines
- Which Happy machine should I buy?
All Happy Japan machines: Happy Japan at Buckets of Ink.
FAQ
How big is the cap sewing field?
About 14 x 2.8 in on HCD3e and 14.2 x 3.1 in on HCR3 multi-heads.
Why are my cap designs out of register?
Usually loose hooping or a cap driver that is not fully seated. Use firm backing and sew center-out.
Do you sell extra cap frames?
Yes. Call 480-229-7806 with your model and we will match the frame.
